Export Locations
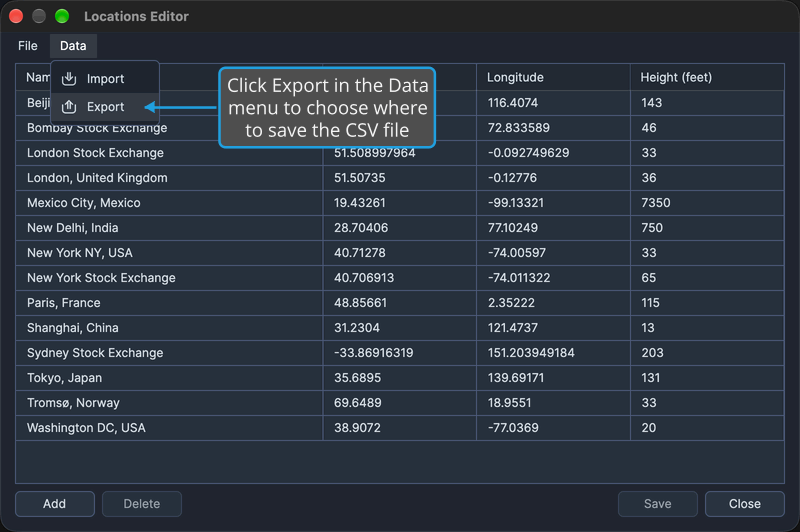
Keep a copy of your locations to back up or move to another computer. In the Locations Editor, choose Data → Export, then choose a name and folder for the CSV file.
Export is available when the Locations table holds at least one location; on an empty table it is unavailable. Rows without a name are not exported.
Export Locations to a CSV File
With the Locations Editor open and at least one location in its table:
- Click Data → Export on the Locations Editor's menu bar.
- In the save dialog, choose a name and folder for the CSV file and save it (see Save a File in the Save Dialog).
- Click Ok in the Export Successful message.
The save dialog suggests a name made of Locations_ followed by today's date. Cygnus writes the table's named locations to the CSV file, and the Export Successful message tells you how many locations were exported and where the file was saved.
To back out without writing anything, cancel the dialog instead (see Cancel the Save Dialog).
Related Topics
- Locations Editor: add, edit and delete the locations you export.
- Import Locations: add the locations of a CSV file to the Locations Editor.