Import Locations
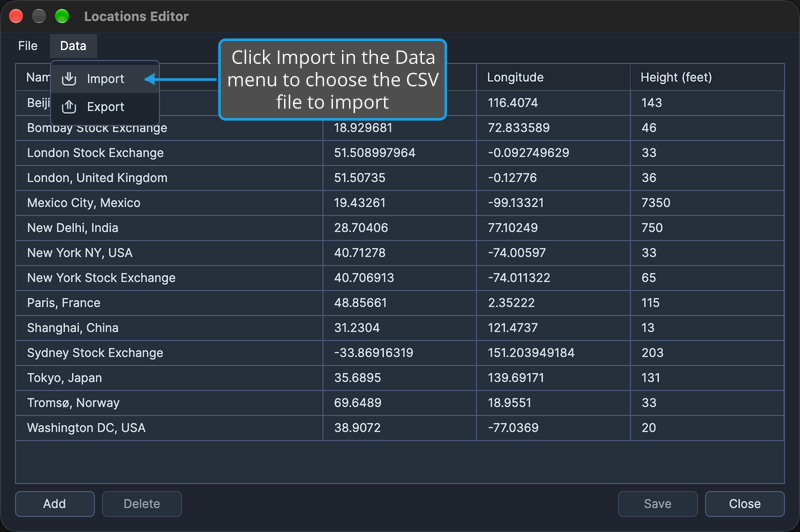
Bring in a list of locations prepared elsewhere instead of typing each one. In the Locations Editor, choose Data → Import, select a CSV file, review the added rows and click Save.
The file's locations are appended to the editor's table as unsaved changes, and they are kept only when you then save the list.
Import Locations from a CSV File
The CSV file must hold one location per line, in four comma-separated columns in this order: the name, the latitude and the longitude in decimal degrees, and the height in feet, with a period as the decimal point. A first line that names the columns, such as Name,Latitude,Longitude,Height, is skipped, so a file written by Export Locations imports as it is.
With the Locations Editor open and a CSV file of locations at hand:
- Click Data → Import on the Locations Editor's menu bar.
- In the Select CSV File to Import dialog, navigate to the folder that holds the CSV file.
- Select the CSV file and click Open.
- Click Ok in the Import Successful message.
The Select CSV File to Import dialog is your operating system's own open dialog, and it lists CSV files. Canceling it imports nothing.
The file's locations are appended to the Locations table as unsaved changes, and the Import Successful message tells you how many locations were imported. Review the added rows, then save the list (see Save the Locations).
Related Topics
- Locations Editor: review, edit and save the imported locations.
- Export Locations: write your locations to a CSV file.
- Location and Reference System: choose one of your saved locations for a study.