Export Locations
A carefully built location list is worth keeping a copy of, and worth sharing. Export writes the whole list to a CSV file, one row per location, from the Locations Editor's Data menu.
Export the Location List
Open the Locations Editor first, as described in Open the Locations Editor. Then:
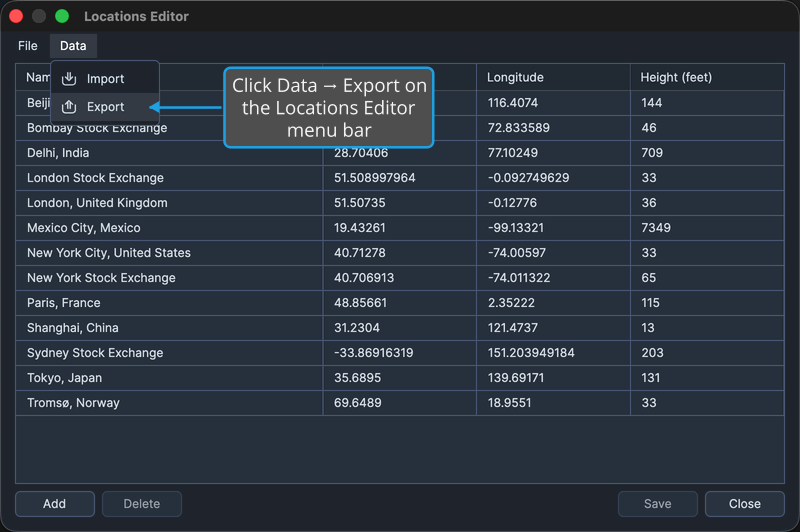
- Click Data → Export on the Locations Editor menu bar.
- Name the file and pick where to write it, as described in Choose a Destination in the Save File Dialog.
Aquila writes the whole list to the chosen file, one row per location. To back out without writing anything, see Cancel the Save File Dialog.
Export is unavailable while the list is empty, so there is always at least one named location in the file it produces.