Export Events
Serious analysis usually continues in a spreadsheet or a statistics package, so the results need to leave Aquila in a portable form. Export writes the study's events to a CSV file through a save-file prompt.
The Export button sits at the bottom-right of the results column and is enabled once the study's events have been generated.
Export to CSV
To write the study's events out as a CSV file:
- Click the Export button at the bottom-right of the results column.
- Name the file and pick where to write it, as described in Choose a Destination in the Save File Dialog.
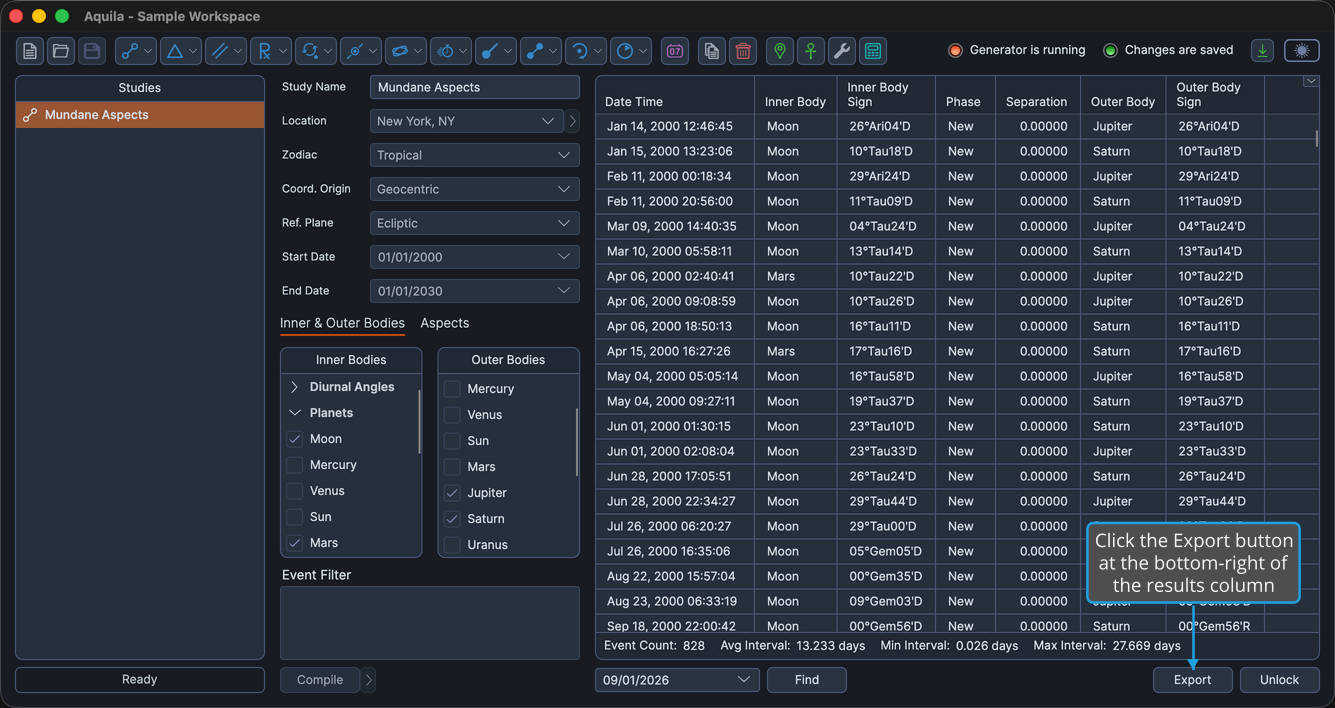
The dialog opens with the study's name already filled in and a .csv extension applied, so accepting the suggested name is usually enough. To back out without writing anything, see Cancel the Save File Dialog.
What Gets Written
The export follows the table as it stands on screen. It writes only the columns currently visible, in the order they currently sit in, so arranging the table before exporting shapes the file:
- Show the metrics the analysis needs and hide the rest. See Choose Events Table Columns.
- Drag the columns into the order you want them in the file. See Reorder Events Table Columns.
The export writes every event in the table, whether or not any rows are selected. To move a selection rather than the whole result set, use the clipboard commands instead. See Copy Events.